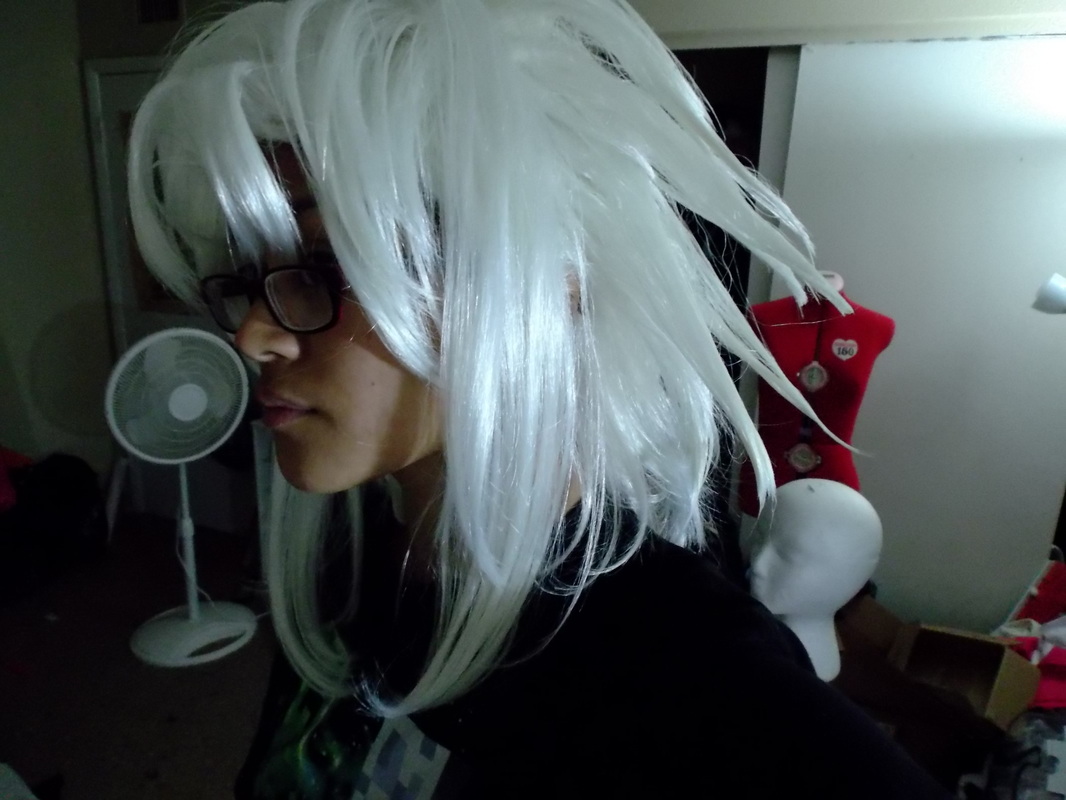
Hello everyone, Capezio here! This is going to be my first makeup tutorial of 2014, yay! *throws confetti* Anyways, I hope you all enjoy it. If anyone has any questions feel free to comment below. LET'S START.
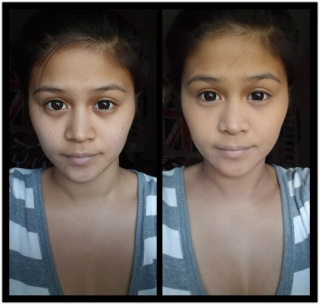
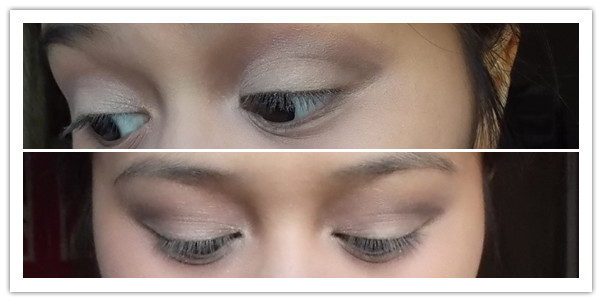
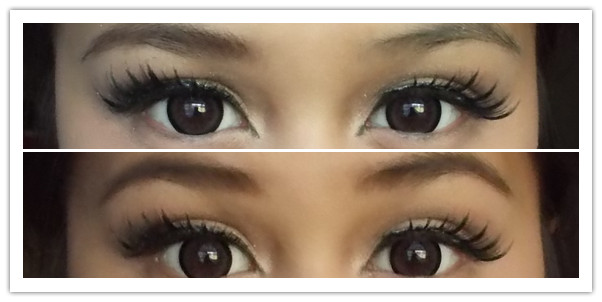
There's a quite subtle difference between the left panel and right. First thing is to clean your face! Rid all the oils, dead skin, etc. I use St. Ives Apricot Scrub on my face then moisturize it with Aveeno's positively radiant moisturizer. After moisturizing I applied Revlon's 400 Early Tan foundation then their Nearly Naked pressed powder. (Not much concealer because not even God's power can fully cover those bags up hahaha) Let's face it, I'm forever sleep deprived ಥ‿ಥ
Please refer back to this image while scrolling down to see the rest of the instructions.
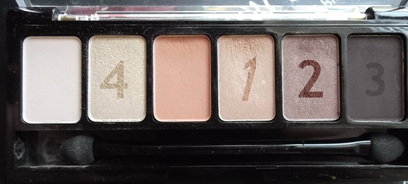
This is NYX: Natural Palette. The numbers are done according to first to last. The order may change depending on your skin tone.
This is NYX: Natural Palette. The numbers are done according to first to last. The order may change depending on your skin tone.
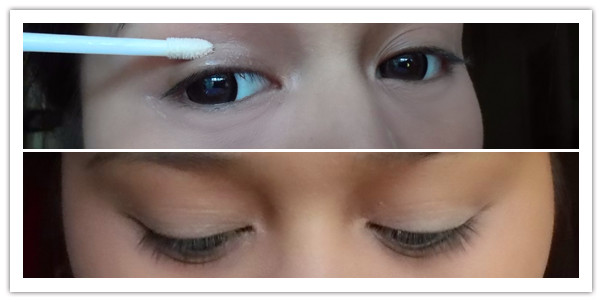
We first go on ahead and apply eyeshadow primer, I use NYX's. I personally find it very efficient, cheap, and gets the job done. After pat on the first eyeshadow to your lid.
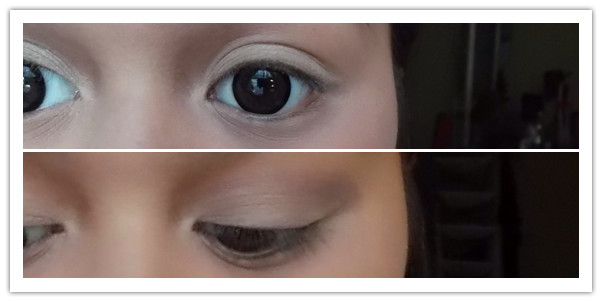
Then with the lighter brown ( 2 ) apply lightly with a crease/smudge brush to the crease of your eye, blend well. This is just to start the defining the crease itself. You will then later gently apply the darker ( 3 ) brown much closer and deeper in the crease.
As seen in the photo, ( 3 ) doesnt reach far out as much as ( 2 ) does on the lid. Once again make sure to blend well and gently. After I quickly added ( 4 ) on my brow bone for a bit of a highlight. Next you will apply liner to the lid, any liner you prefer. I like using the gel ones, I find them to stick on the most. Especially since my eyes tend to water more than usual it doesn't mess up the gel eyeliner as much as liquid.
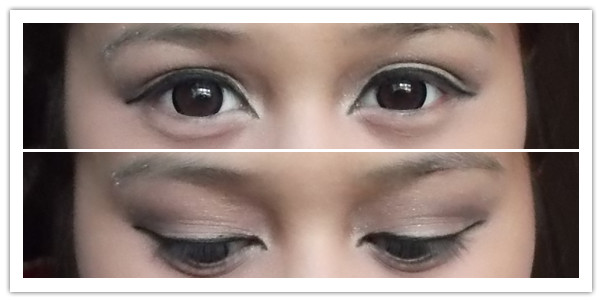
When adding the eyeliner be sure to have it drop a little further off your top lid to help make your eyes appear bigger and doll like. Also starting from the tear - up it gives more of a defining look.
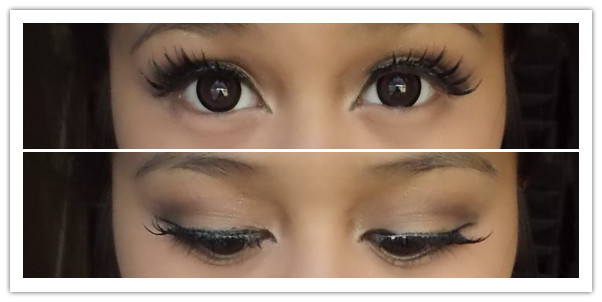
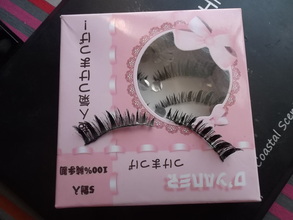
These pair of lashes were found on storenvy. The links to everything I used will be below the tutorial. To avoid the dramatic look go for thinner lashes that shows the subtle eyeshadow a bit more. Usually the big spiky ones often used in cosplays/gyaru makeup, they tend to be thick and long enough where the lid is totally covered when your eyes are opened.
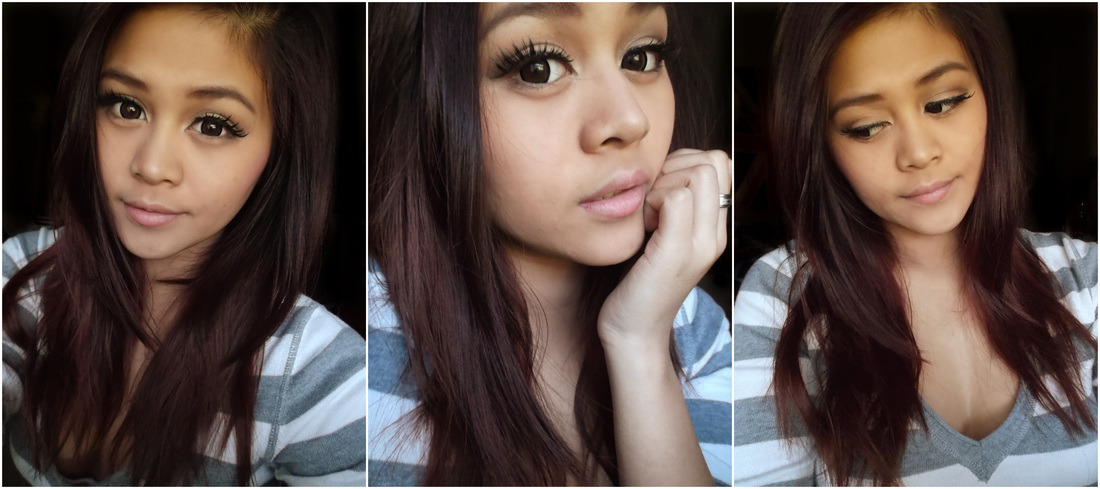
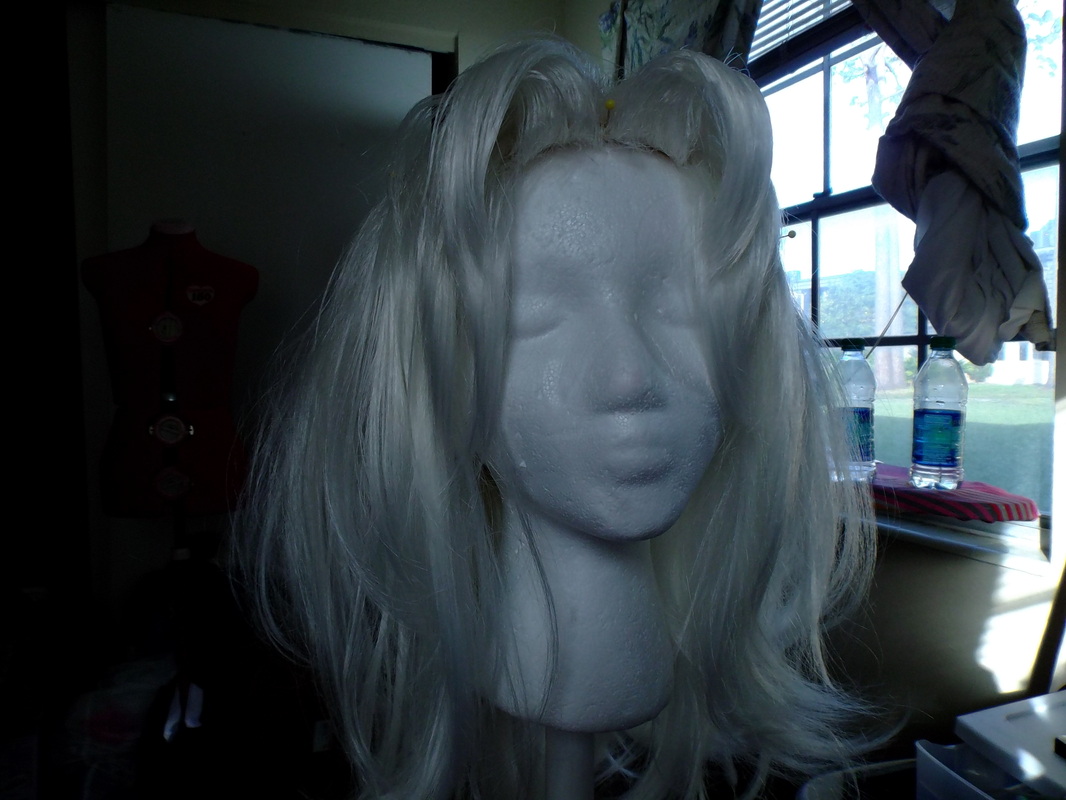
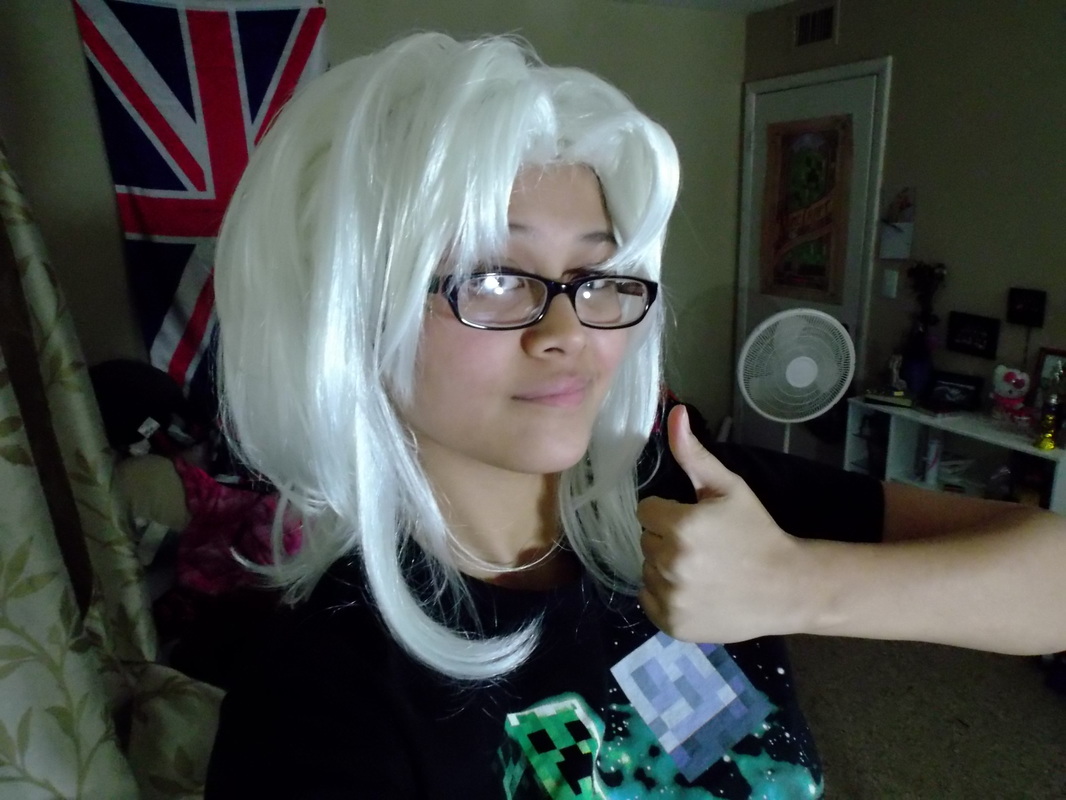
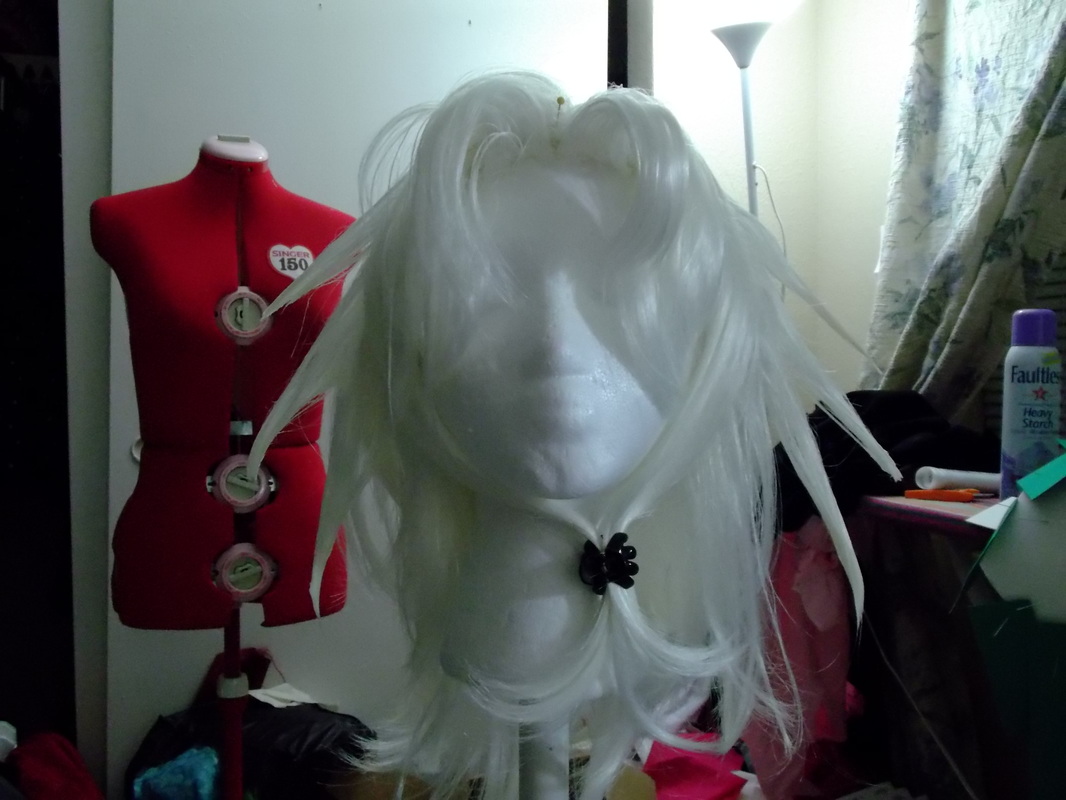
I filled my eyebrows in with a dark brown shadow found on the Coastal Scents 78 Shadow Blush Palette. I usually top the lashes with glue or eyeshadow primer depending on what look I'm trying to achieve. I end up using a glue stick for heavier looking eyebrows or for cosplays. I blend the brown with an eyebrow brush. The top photo only the right one was filled in first to show the difference. With those steps all down all there's left are little touch ups, such as adding blush, a little bit of mascara to the lashes and lower to make the eyes pop a bit more, and a little bit of brown eyeshadow on the outer creases of my lower lashes. All that, then voila you're done ♥ I even put my hair back down.
Products
Hope you guys enjoyed it! Remember to comment below :) Any question please let me know ♥ Thank you for reading~
- Capezio
- Capezio


 RSS Feed
